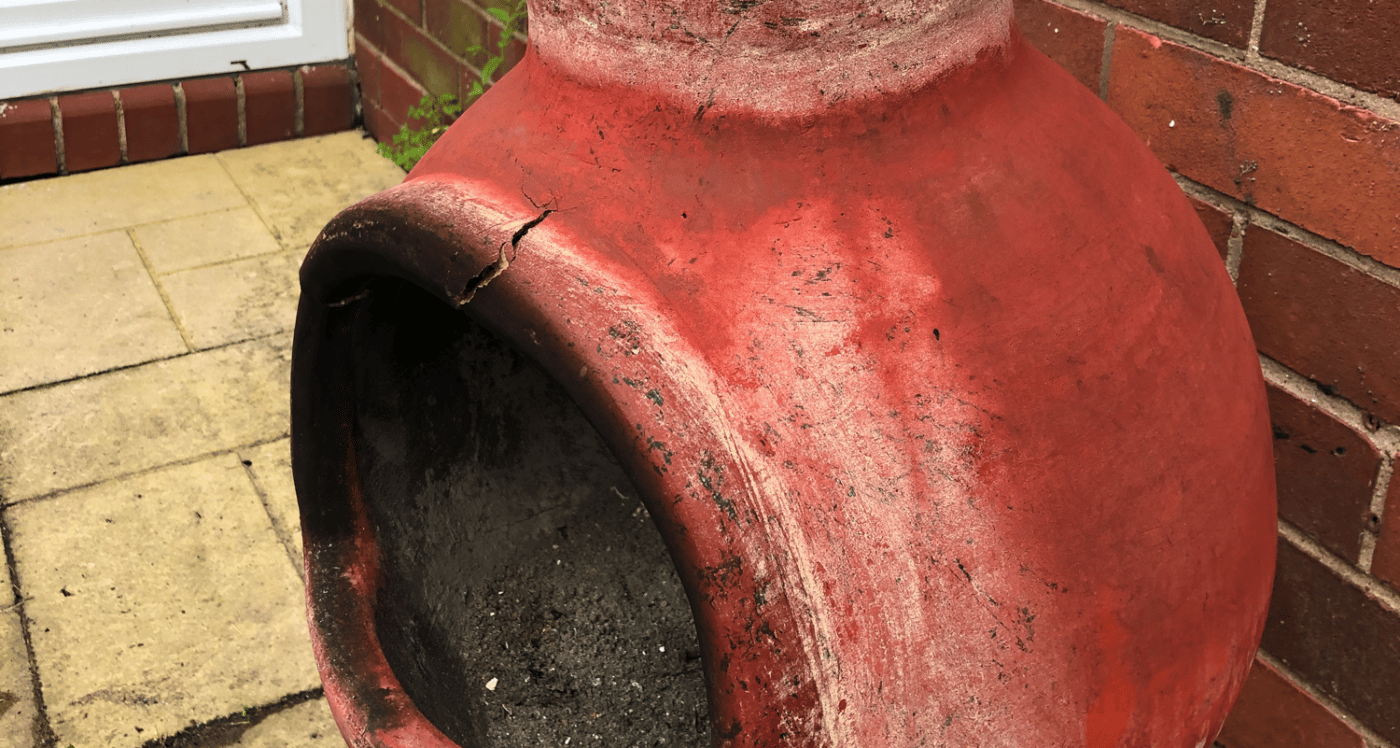
As the chill of the evening sets in, there’s nothing quite like gathering around a warm and inviting chimenea. But if a crack mars its once-pristine surface, the joy of cozy gatherings can quickly turn to disappointment. Fret not, dear reader! With the right materials and a touch of patience, you can restore your beloved chimenea to its former glory. Embark on this step-by-step guide to mend that crack and reignite the warmth of your outdoor sanctuary.

Image: saopaulovidracaria.com.br
Understanding the Anatomy of a Crack
Before you begin the restoration process, it’s essential to understand the type of crack you’re dealing with. Cracks can occur due to various factors, such as temperature fluctuations, mishandling, or aging. Identify whether the crack is:
- Superficial: A crack that affects only the outermost layer of the chimenea.
- Deep: A crack that extends deep into the material, compromising its structural integrity.
The depth of the crack will determine the approach and materials required for the repair.
Gathering the Restoration Arsenal
Now that you know your enemy, it’s time to assemble your restoration arsenal:
- Heat-resistant cement or epoxy
- Trowel or putty knife
- Sandpaper (coarse and fine grits)
- Wire brush
- Damp cloth
- Chamois cloth
Step 1: Preparing the Wounded Chiminea
a. Clear the area around the crack of any debris or soot.
b. Use a wire brush to gently remove any loose fragments or chipped material around the crack.
c. Wipe down the affected area with a damp cloth to remove any remaining dust or dirt.
Step 2: Choosing the Right Ally
a. For superficial cracks, heat-resistant cement is a suitable choice. If the crack is more significant or deep, epoxy will provide added strength.
b. Read the manufacturer’s instructions carefully to ensure proper use and compatibility with your chimenea material.
Step 3: Applying the Healing Touch
a. Apply the cement or epoxy to the crack using the trowel or putty knife.
b. Press firmly to fill the crack completely, avoiding air pockets.
c. Smooth the surface using the trowel or a moistened finger.
Step 4: Patience is the Key
a. Allow the cement or epoxy to cure and adhere according to the manufacturer’s recommended time.
b. Resist the urge to light a fire too soon. The repair needs time to set and gain strength.
Step 5: Smoothing the Scars
a. Once the repair is fully cured, use sandpaper to gently remove any excess cement or epoxy from the surface.
b. Start with coarse-grit sandpaper and gradually move to finer grits to achieve a smooth finish.
c. Wipe down the area with a chamois cloth to remove dust and enhance shine.
Expert Insights and Actionable Tips
- Seek advice from a professional mason or fireplace expert if you’re dealing with a deep or complex crack.
- For added durability, consider reinforcing the repaired area with a heat-resistant mesh or wire.
- Prevent future cracks by placing your chimenea in a sheltered location and avoiding sudden temperature changes.
Conclusion
With care and precision, you have successfully restored your cracked chimenea, breathing new life into this cherished outdoor companion. As you gather around its warm embrace once more, remember that it’s not just a vessel for warmth but a symbol of resilience and the enduring bond you share with loved ones. May your chimenea continue to illuminate your evenings and create lasting memories for years to come.

Image: www.ableroof.com
How To Fix A Cracked Chiminea