A cracked or broken MacBook screen can be a major inconvenience. However, with the right tools and knowledge, you can repair it yourself and save a significant amount of money compared to professional repair services.
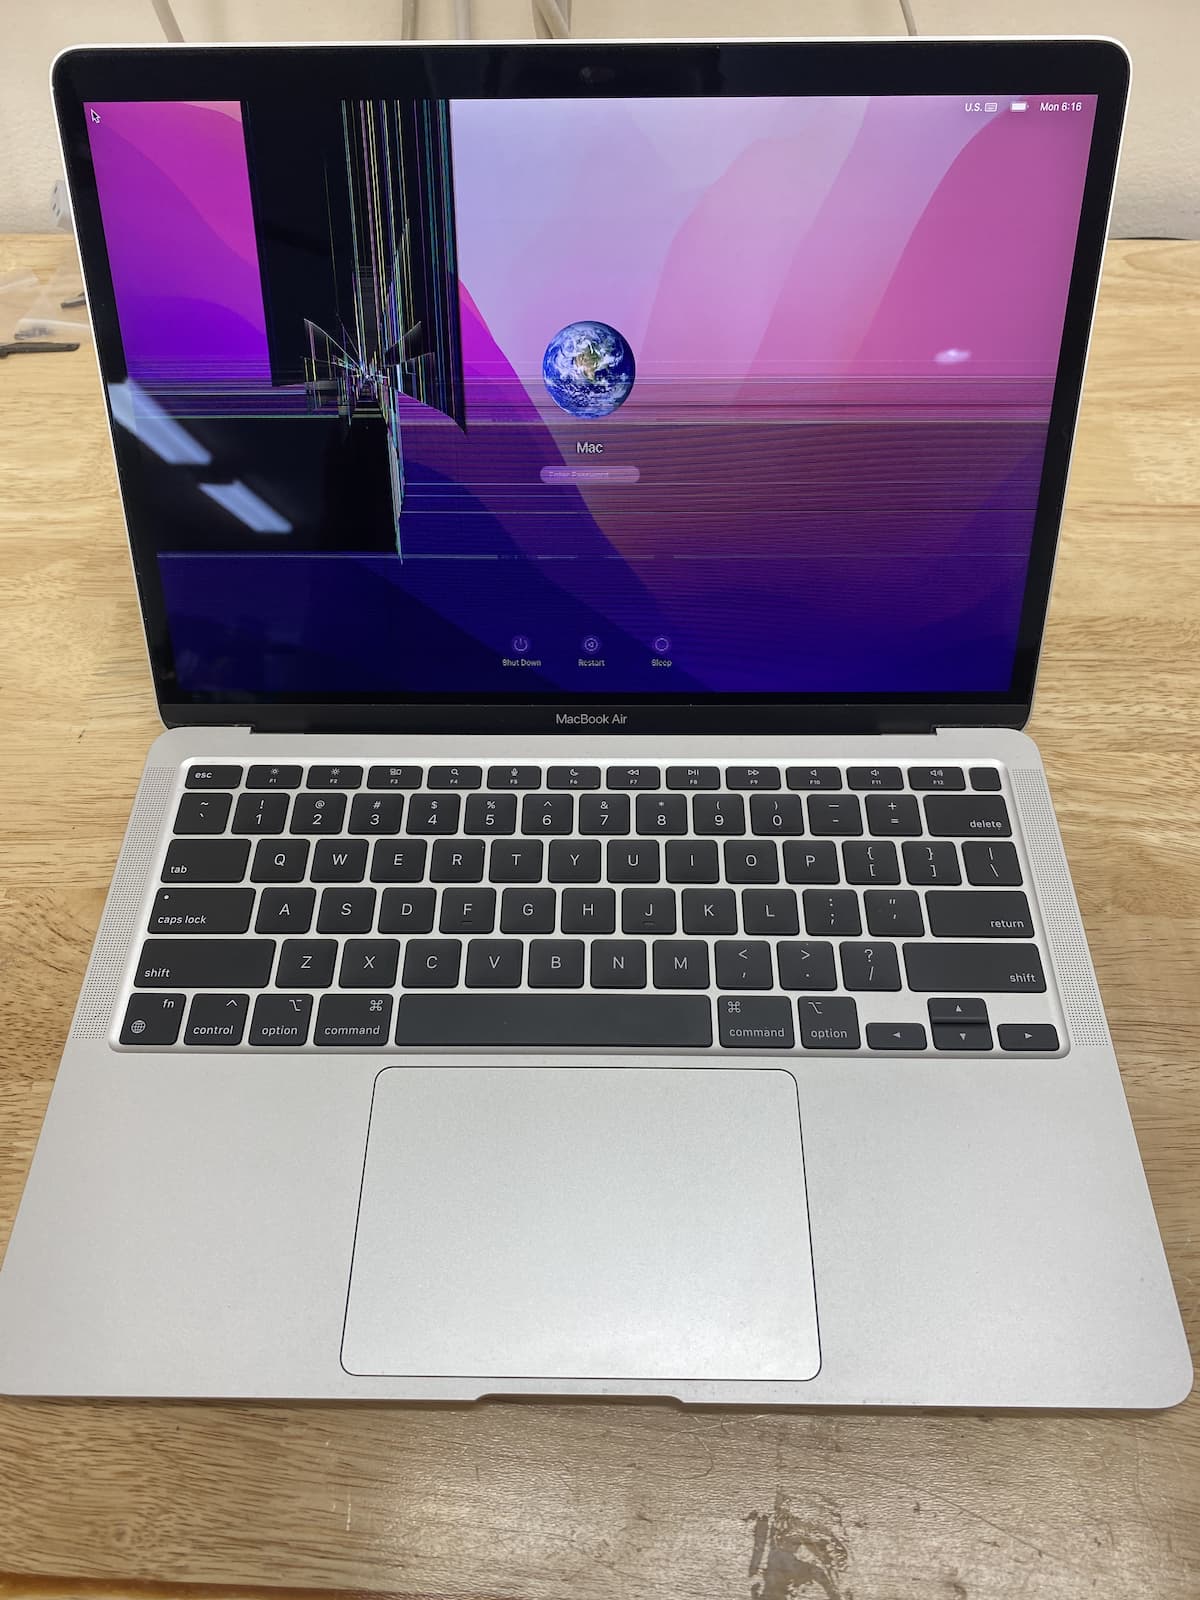
Image: www.macktechs.com
In this comprehensive guide, we will provide you with step-by-step instructions on how to fix a broken MacBook screen, covering essential tools and parts, safety precautions, and troubleshooting tips to ensure a successful repair.
Identifying the Screen Damage
Visual Examination and Functionality Check
Carefully inspect the screen for any visible cracks, scratches, or dents. Check if the screen is flickering, has dead pixels, or displays distorted colors. If the screen is completely black or unresponsive, you may need to troubleshoot the issue further.
Tools and Parts Required for Repair
Gather the necessary tools and parts for the repair:
- Replacement MacBook screen assembly (specific to your model)
- P5 pentalobe screwdriver
- T5 Torx screwdriver
- Anti-static wrist strap
- Spudger tool
- Suction cups
- Heat gun or hair dryer

Image: www.macbookscreenrepairs.com.au
Safety Precautions
Before starting the repair, ensure your safety:
- Power down your MacBook and unplug it from all power sources.
- Wear an anti-static wrist strap to prevent electrostatic discharge (ESD).
- Work on a clean, flat surface to avoid scratching the screen or MacBook chassis.
Step-by-Step Repair Instructions
- Remove the Bottom Cover: Remove the ten pentalobe screws that secure the bottom cover. Carefully detach the cover by using suction cups to lift it slightly and sliding a spudger tool around the edges.
- Unplug the Battery: Disconnect the battery connector from the logic board by carefully prying it up with the spudger tool.
- Unfasten the Display: Remove the four T5 Torx screws that hold the display assembly in place. Carefully lift the display up and disconnect the display data cable using the spudger tool.
- Replace the Screen: Remove the four screws that secure the old screen assembly to the chassis. Use the heat gun or hair dryer to soften the adhesive around the screen edges. Carefully remove the old screen by inserting the spudger tool between the screen and the chassis. Reverse the steps to install the new screen assembly and tighten the screws.
- Reconnecting and Reassembly: Reconnect the display data cable and secure the display with the Torx screws. Plug in the battery connector and fasten the bottom cover using the pentalobe screws.
Tips and Expert Advice
- Handle the screen carefully during the repair to avoid further damage.
- If you encounter any difficulties, refer to online repair guides or consult an experienced technician for assistance.
- Regularly clean the MacBook screen to prevent dust and debris buildup, which can interfere with screen functionality.
Troubleshooting
- Screen Flickering: Check the display data cable connection. Ensure it is securely plugged into both the logic board and the display assembly.
- Dead Pixels: Replace the screen assembly as dead pixels cannot be repaired.
- Black Screen: Verify that the battery is properly connected. If the issue persists, the logic board may need to be checked or replaced.
Frequently Asked Questions (FAQ)
Q: Can I repair my MacBook screen without replacing the entire assembly?
A: It may be possible in some cases, such as cracked glass without internal damage. However, it requires advanced technical skills and is not recommended for beginners.
Q: Is it safe to repair the MacBook screen myself?
A: Yes, as long as you follow the instructions carefully and take the necessary safety precautions. If you encounter any uncertainties or complications, do not proceed further and consult a qualified technician.
How To Fix Broken Macbook Screen
Conclusion
Repairing a broken MacBook screen requires careful attention to detail and proper handling. By following the step-by-step instructions and incorporating the tips in this guide, you can save time and money while restoring your MacBook’s functionality. If you have any additional questions or encounter difficulties during the repair process, feel free to reach out to us for further assistance.
Would you like to know more about MacBook screen repair or other related topics? Let us know in the comments section below, and we will be happy to provide additional information and support.
