Introduction
Whether traversing rugged trails or navigating bustling city streets, leather boots are a timeless investment that can withstand the trials of time. Yet, even the most durable boots can fall victim to unsightly tears, marring their otherwise flawless appearance. Fret not, leather aficionados, for this comprehensive guide will equip you with the knowledge and techniques to restore your beloved boots to their former glory.

Image: www.dreamstime.com
Assessing the Tear
Before embarking on the repair process, it’s crucial to thoroughly assess the tear’s nature and extent. Superficial tears on the surface of the leather can be addressed with relative ease, while deeper tears that penetrate through all layers require a more meticulous approach.
- Superficial Tears: These tears are typically caused by scratches or cuts and only affect the top layer of leather. They appear as faint lines or scuffs and can be repaired using a leather repair kit or shoe glue.
- Deep Tears: Deep tears extend through the entire thickness of the leather, often due to punctures or abrasions. They can result in a loss of structural integrity and require more extensive repair methods, such as patching or stitching.
Repairing Superficial Tears
To repair superficial tears, gather a leather repair kit containing adhesive, leather filler, and a color-matching dye. Clean the affected area with a leather cleaner to remove any dirt or debris. Apply a thin layer of adhesive to the inside of the tear and gently press the edges together. Allow the glue to dry completely. Once dry, fill in any remaining gaps using the leather filler. Finally, apply the color-matching dye to restore the boot’s original color.
Repairing Deep Tears
For deep tears, a multifaceted repair approach is necessary. Depending on the tear’s size and location, you may consider:
- Patching: Cut a patch from a piece of leather matching the boot’s color and texture. Apply adhesive to the patch and the inside of the tear. Position the patch over the tear and press down firmly. Once the adhesive has set, stitch around the edges of the patch for maximum durability.
- Stitching: If the tear is in a high-stress area, such as the toe box or along a seam, stitching may be a better option. Clean the edges of the tear and apply a leather conditioner to soften the leather. Using a leather needle and waxed thread, stitch the edges of the tear together, taking care to match the original stitching pattern.
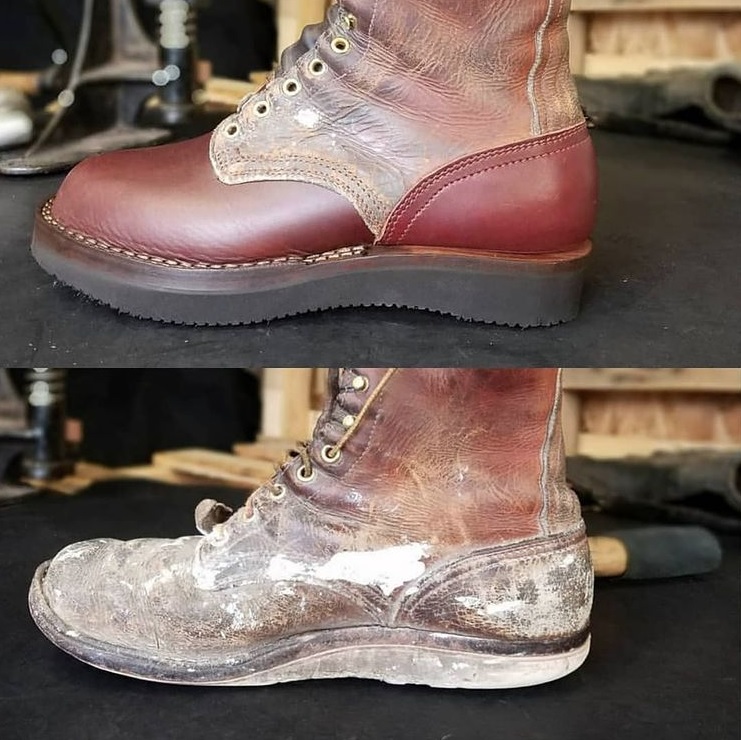
Replacing the Leather Panel: In cases of extensive damage, replacing the entire leather panel may be necessary. This procedure is best left to a professional cobbler, who has the specialized skills and equipment to ensure a seamless repair.

Image: nicksboots.com
Post-Repair Care
Once the tear has been repaired, it’s essential to provide your boots with proper care and maintenance to prevent future damage:
- Apply a leather conditioner regularly to keep the leather supple and prevent it from cracking or drying out.
- Protect your boots from the elements by applying a waterproof spray.
- Avoid exposing your boots to extreme heat, as this can harden the leather and make it more prone to tearing.
- Have your boots professionally cleaned and polished every few months to maintain their appearance and longevity.
How To Fix A Tear In Leather Boots
Conclusion
Repairing a tear in leather boots is a rewarding endeavor that can restore your beloved footwear to its former glory. By following the steps outlined in this guide, you can effectively address both superficial and deep tears, ensuring that your boots continue to provide you with years of comfortable and stylish wear.
Are you interested in learning more about leather care and maintenance? Share your thoughts and questions in the comments section below. Together, we can navigate the world of leather with confidence and a newfound appreciation for its timeless beauty.