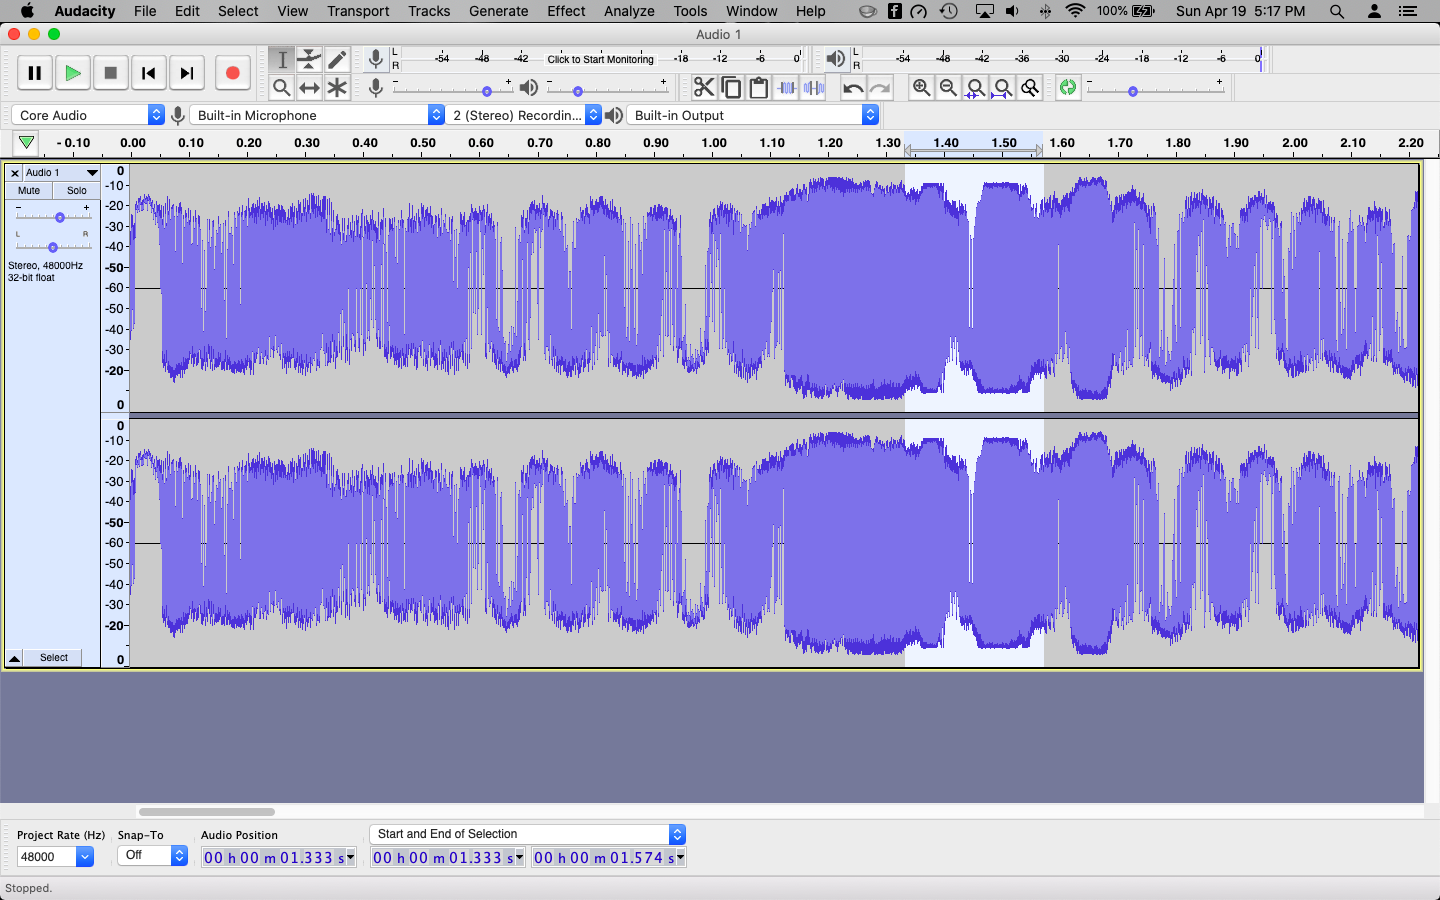
Audio peaking is a common issue that can occur during recording, mixing, or mastering. It happens when the audio signal exceeds the maximum amplitude level, resulting in a distorted and unpleasant sound. Peaked audio can severely compromise the quality of your recordings, making them sound unprofessional and distracting.

Image: www.technewstoday.com
In this guide, we will explore the causes of peaked audio and provide step-by-step instructions on how to fix it. We will also cover best practices for preventing peaking in future recordings.
What Causes Peaked Audio?
Several factors can contribute to peaked audio, including:
- Excessive Input Gain: Setting the input gain too high can overload the recording system, causing the audio signal to clip.
- Improper Microphone Placement: Placing the microphone too close to a sound source can result in overpowering bass and distortion.
- Faulty Equipment: Defective microphones, cables, or audio interfaces can introduce noise or distortion that can lead to peaking.
- Low-Quality Recordings: Using low-resolution audio settings can limit the dynamic range and increase the risk of peaking.
- Aggressive Mixing or Mastering: Applying excessive compression or EQ can amplify certain frequencies, resulting in peaks.
How to Fix Peaked Audio
If you encounter peaked audio, there are several techniques you can employ to fix it:
- Reduce Input Gain: Start by lowering the input gain on your recording device. This will prevent the signal from overloading the system and reduce the chance of peaking.
- Adjust Microphone Placement: Experiment with different microphone placements to find the optimal distance from the sound source. Aim for a position that provides a balanced and undistorted sound.
- Repair Faulty Equipment: Have any defective equipment serviced or replaced. Using well-maintained equipment will minimize the risk of technical issues that can cause peaking.
- Optimize Recording Settings: Use the highest possible sample rate and bit depth for your recordings. This will provide a wider dynamic range and reduce the likelihood of peaking.
- Apply Moderate Compression and EQ: Use compression and EQ sparingly to prevent excessive gain. Aim for a subtle improvement in the audio rather than aggressive processing that could lead to peaks.
- Use a Limiter: A limiter can be used as a safety net to catch any remaining peaks. Set the threshold just below the desired maximum level to prevent distortion.

Image: forum.audacityteam.org
How To Fix Peaked Audio
Conclusion
By following these tips, you can effectively fix peaked audio and improve the quality of your recordings. Remember to prioritize input gain adjustment, microphone placement, and proper equipment maintenance to minimize the risk of peaking. By taking these steps, you can ensure that your recordings sound clear, balanced, and distortion-free.
Are you interested in learning more about audio production? Stay tuned for future articles covering a wide range of topics related to recording, mixing, and mastering. Join us on this journey towards creating exceptional audio experiences.