Do you have a beloved piece of veneer furniture that has suffered from the ravages of time or the wear and tear of daily life? Don’t despair! With a little knowledge and the right materials, you can breathe new life into your cherished piece and restore it to its former glory.
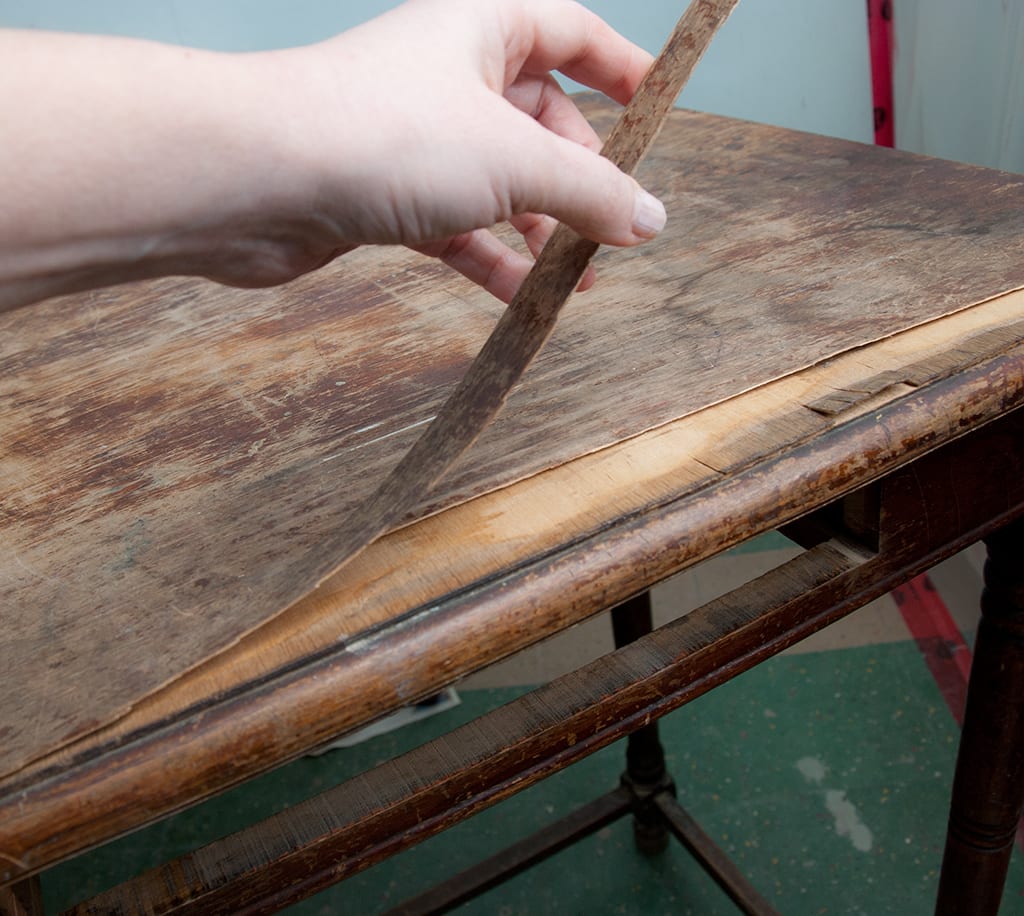
Image: cursodeingles-elena.blogspot.com
What is Veneer Furniture?
Understanding the nature of veneer furniture is crucial before embarking on a repair journey. Veneer refers to thin sheets of wood applied to a more stable substrate, typically less expensive wood or composite materials. This technique allows manufacturers to create visually appealing furniture while using scarce or expensive materials sparingly. Veneer furniture requires more delicate care and maintenance due to its thinner surface.
Step-by-Step Guide to Veneer Repair
Now, let’s dive into the step-by-step process of repairing veneer furniture:
1. Diagnosis and Preparation:
Inspect the damage thoroughly. Determine whether the veneer is chipped, cracked, or peeling. Clean the damaged area using a damp cloth to remove dirt and debris.
2. Adhesives:
Choose the right adhesive for your repair task. For small cracks or chips, a superglue or wood glue will suffice. For larger repairs involving peeling veneer, a contact adhesive like Neoprene might be necessary.
3. Veneer Patching:
If the veneer is chipped or missing, you’ll need to create a patch. Find a scrap piece of veneer that matches the grain and color of the damaged area. Cut the veneer patch to the size that fits the damaged area.
4. Applying the Veneer Patch:
Apply a thin layer of adhesive to both the damaged area and the veneer patch. Align the patch carefully and press it into place. Secure the patch with clamps or weights until the adhesive dries completely.
5. Clamping and Drying:
Use clamps or weights to hold the damaged area in place while the adhesive dries. Allow the repair to dry completely according to the manufacturer’s instructions.
6. Smoothing and Refinishing:
Once the adhesive has dried, gently sand the repaired area smooth. Blend the edges of the patch seamlessly into the surrounding veneer using fine-grit sandpaper. If the repair isn’t perfect, don’t worry. You can apply a thin layer of wood filler to fill any remaining gaps and sand it down to create a smooth surface.
7. Refinishing and Sealing:
To complete the repair, apply a clear finish over the repaired area to protect it and make it blend seamlessly with the rest of the furniture. Choose a varnish, lacquer, or wax that matches the existing finish on your piece.
Expert Tips for Exceptional Results
-
Test on an Inconspicuous Area: Before applying any adhesives or finishes to the damaged area, test them on an inconspicuous part of the furniture to ensure they don’t damage the veneer.
-
Use a Veneer Joint Tool: Invest in a veneer joint tool to create precise and clean joints when patching larger areas of veneer.
-
Practice on Scrap: Practice your repair techniques on scrap veneer before tackling the actual damage.
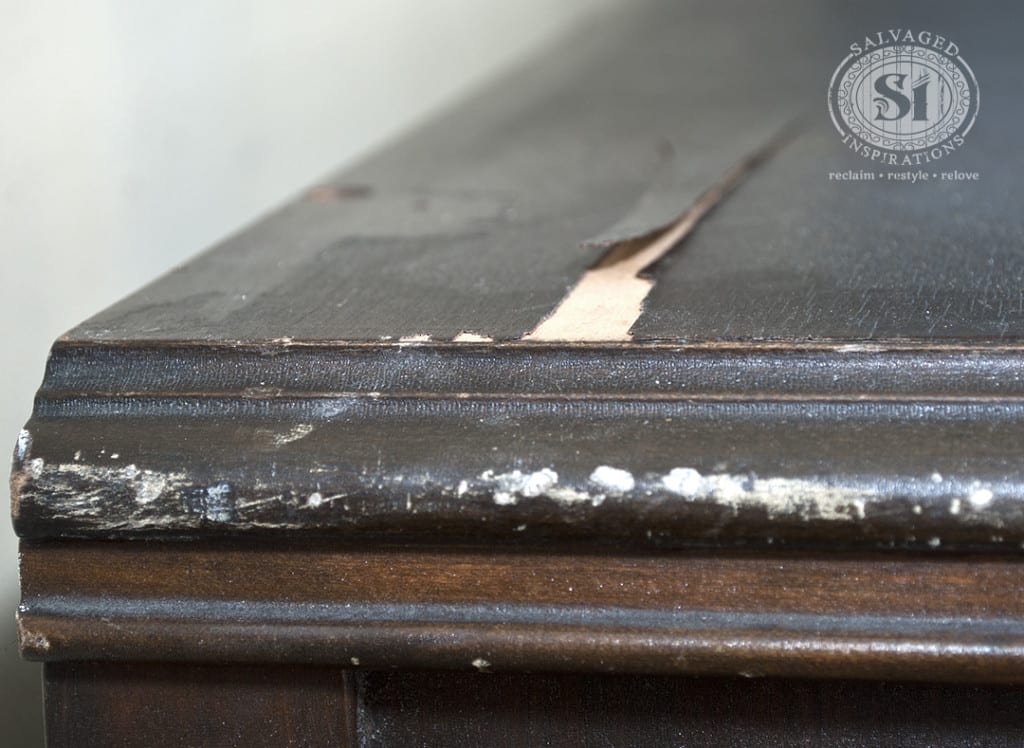
Image: salvagedinspirations.com
How To Fix Veneer Furniture
Conclusion
Repairing veneer furniture is a rewarding task that requires patience and attention to detail. By following the steps outlined above and incorporating the expert tips, you can restore your cherished furniture pieces to their former glory and extend their lifespan. Remember, the process is not just about restoring the furniture’s functionality but also about preserving its unique beauty and sentimental value. So, grab your tools and embark on this creative journey to bring your beloved veneer furniture back to life.
