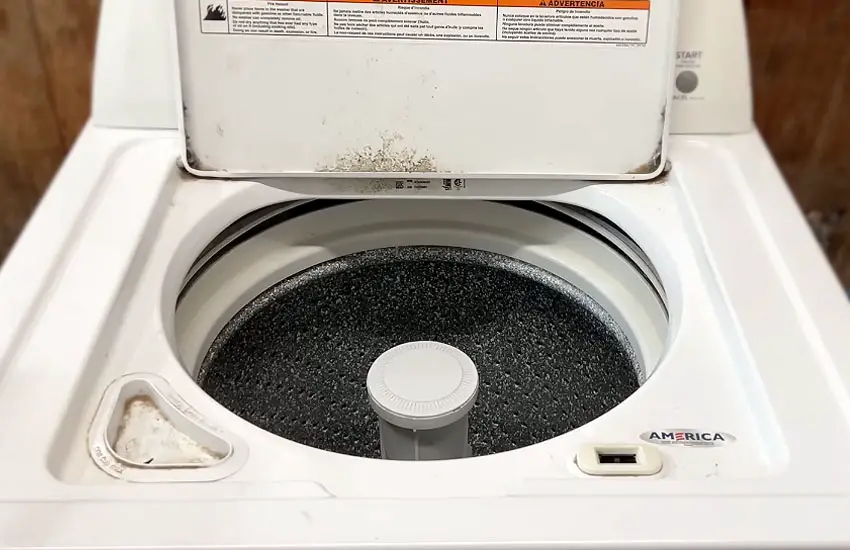
An Unbalanced Act: When Your Washer Shakes and Shifts
Imagine the chaos of a washing machine gone haywire: a deafening rumble, violent shakes, and the unsettling sight of it bouncing around your laundry room like a mischievous toddler. This off-balance behavior is not just a nuisance; it can wreak havoc on your machine, shorten its lifespan, and even damage your walls or flooring. Fixing an off-balance washer doesn’t have to be a daunting task. With the right approach and a bit of elbow grease, you can restore harmony to your laundry routine and keep your washer performing smoothly for years to come.

Image: www.wikihow.com
Pinpointing the Culprit: Diagnosing an Off-Balance Washer
To effectively fix an off-balance washer, it’s essential to first identify the root cause. Here are some common culprits:
-
Uneven Load Distribution: Overloading or unevenly distributing your clothes can throw your washer off balance.
-
Faulty Shocks or Springs: Over time, wear and tear can weaken or damage the shocks and springs responsible for dampening vibrations.
-
Broken Tub Bearing: The tub bearing supports the tub and prevents it from wobbling. If it breaks, your washer may shake excessively.
-
Bent or Damaged Tub: A bent or damaged tub can create an imbalance as it spins, causing the washer to vibrate violently.
-
Loose Mounting Nuts: The mounting nuts that secure the washer to the floor may have become loose, allowing the machine to move during operation.
Step-by-Step Guide to Fixing an Off-Balance Washer
With the potential causes identified, let’s embark on the step-by-step process to fix your off-balance washer:
Step 1: Redistribute Your Load
If uneven load distribution is suspected, simply redistribute the clothes within the tub, ensuring they are evenly spread out.
Step 2: Inspect and Replace Shocks or Springs
To inspect the shocks or springs, gently tilt your washer back and check for signs of wear, corrosion, or damage. If any components need to be replaced, refer to your washer’s user manual for guidance on how to remove the old ones and install the new ones.
Step 3: Replace Tub Bearing
Replacing a tub bearing requires some technical expertise, as it involves disassembling the washer to reach the bearing. If you are not comfortable with this task, it’s best to call a qualified appliance repair technician.
Step 4: Check Tub for Damage
Scrutinize the tub for visible bends or cracks. If a severe bend is discovered, it may require replacement. However, slight bends may be straightened using a rubber mallet.
Step 5: Tighten Mounting Nuts
Using a wrench or socket, tighten the mounting nuts that secure your washer to the floor. Ensure they are adequately tightened to prevent the machine from moving during operation.
Expert Insights and Actionable Tips
To enhance the effectiveness of your washer repair endeavor, heed the following expert advice:
“Always use a level to check if your washer is balanced,” suggests Joanna Somerset, a seasoned appliance repair technician. “This simple step can help prevent future issues and prolong the life of your machine.”
According to Jake David, a certified home appliance expert, “Overloading your washer is a common cause of off-balance issues. Stick to the recommended load capacity to avoid overloading and ensure optimal performance.”

Image: homekitchtech.com
How To Fix An Off Balance Washer
Conclusion: A Balanced Laundry Routine
Restoring balance to your washing machine is not merely about fixing a malfunction; it’s about preserving a vital household appliance and ensuring a hassle-free laundry experience for years to come. By implementing the steps outlined in this guide and incorporating the expert tips shared, you can confidently tackle an off-balance washer and restore harmony to your laundry routine. If the problem persists despite your efforts, do not hesitate to reach out to a qualified appliance repair professional for assistance. Remember, a well-maintained washing machine is a happy washing machine, leading to clean, fresh laundry and a peaceful laundry room.