Picture this: You’ve spent hours crafting the perfect pie, your heart filled with anticipation for that first bite. But as you gently lift it out of the oven, your spirits sink as a formidable crack appears across the pastry’s surface. Panic sets in—all that hard work seemingly undone in an instant. Fear not, brave pie-enthusiast! This culinary crisis can be averted with a few simple steps. Let’s guide you through the process of rescuing your beloved pie and salvaging your dessert dreams.
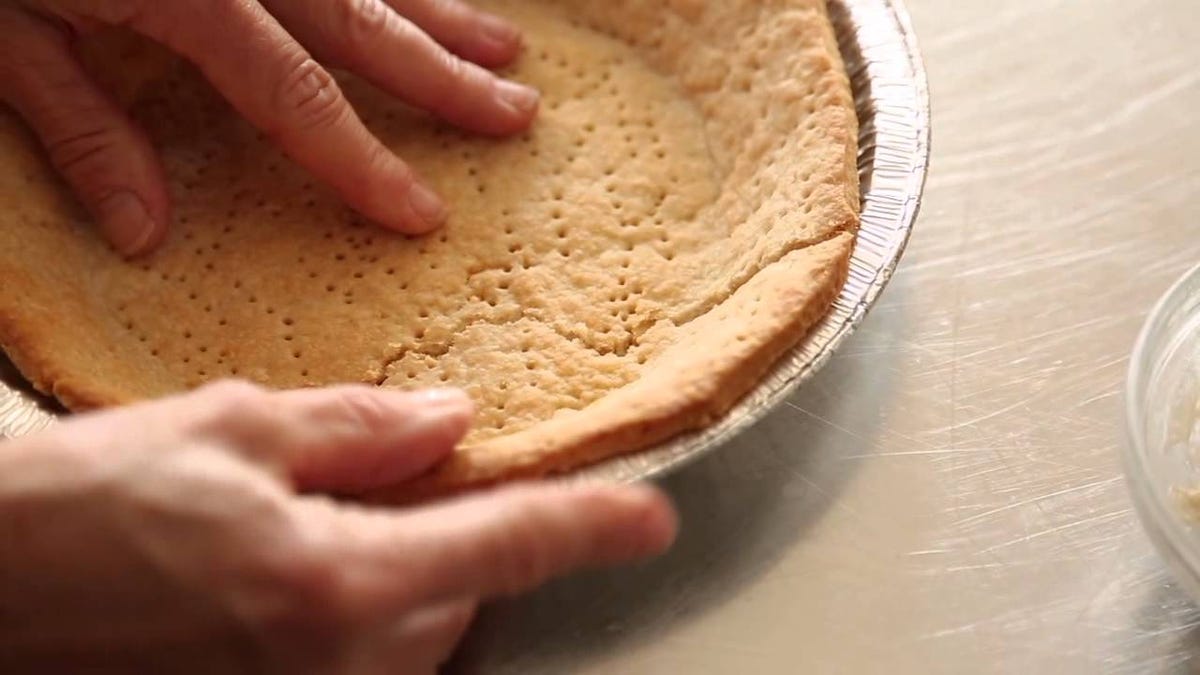
Image: lifehacker.com
Understanding the Pie Crust Conundrum—Identifying and Preventing Cracks
Before delving into the art of mending a compromised crust, let’s unravel the mysteries behind why it cracks in the first place. Several factors contribute to this culinary mishap:
-
Overworking the Dough: This can result in a tough, inelastic crust prone to cracking. Knead it gently until it just comes together, akin to working with a delicate piece of clay.
-
Uneven Rolling: Inconsistent thickness leads to uneven baking, creating weak spots that may succumb to cracking. Roll the dough evenly, ensuring a uniform thickness throughout.
-
Trapped Air: Air pockets within the crust expand during baking, causing the pastry to split. Be meticulous in pressing out any air bubbles before placing your pie in the oven.
-
Rapid Temperature Changes: Drastic fluctuations in temperature, such as sudden cooling after baking, can cause the crust to contract and crack. Allow your pie to cool gradually at room temperature before refrigerating it.
Armed with this knowledge, let’s dive into the practical steps to mend a cracked crust, transforming a potential culinary disaster into a triumph.

Image: garlicdelight.com
How To Fix A Cracked Pie Crust
Mending Cracked Pie Crusts: A Step-by-Step Guide
-
Acknowledge and Embrace the Crack: Don’t let the crack deter you. It’s simply a minor setback, not a reason to abandon your culinary masterpiece.
-
Egg Wash to the Rescue: This trusty kitchen companion is your secret weapon in sealing up cracks. Using a pastry brush, gently apply an egg wash made from one beaten egg and a tablespoon of water. This will create a protective layer that will bond the cracked edges together.
-
Patch It Up with Dough: If the crack is particularly large, consider using leftover dough to patch it up. Simply roll out a small piece of dough, cut it into a shape that covers the crack, and gently press it into place. Seal the edges by pressing them together with a fork or your fingers.
-
Quilted Crust Concealment: This decorative technique not only adds visual appeal but also disguises cracks. Roll out additional dough and cut it into thin strips. Weave these strips over the crack, crisscrossing them to create a lattice or quilt-like pattern.
-
Embrace the Cracks: If all else fails, or if you’re feeling adventurous, embrace the rustic charm of a cracked pie crust. Just remember, it’s the delicious filling that truly matters, and a few imperfections won’t diminish the flavor one bit.
Remember, baking is an art form that thrives on experimentation and a willingness to embrace imperfections. Don’t let a cracked pie crust deter you from creating culinary masterpieces. This minor setback provides an opportunity for creative problem-solving and adds to the unique story of your homemade pie. So go forth, embrace the challenge, and let the aroma of a freshly baked pie fill your home, regardless of a few imperfections.
