
Image: www.midwesternplants.org
Introduction
A leaky windshield can be an unwelcome intrusion, dampening your driving experience. Whether it’s a minor seepage or a persistent downpour, addressing this issue promptly is crucial to ensure your safety and the longevity of your vehicle. This comprehensive guide will empower you with the knowledge and techniques to fix a leaking windshield like a pro, restoring it to pristine condition.
Understanding Windshield Leaks: A Diagnostic Guide
Windshield leaks typically occur due to cracks, broken seals, or rust around the frame. Identifying the source is the first step towards a successful repair. Here are some common culprits:
- Cracks: Inspect your windshield thoroughly for any visible cracks or chips that may have progressed into leaks.
- Broken Seals: The rubber seal around the windshield can deteriorate over time, allowing water to seep in. Check for gaps or tears.
- Rust: Rust around the metal frame can compromise the seal and weaken the structural integrity, leading to leaks.
DIY Windshield Repair: Step-by-Step Instructions
Assuming the leak is minor and you’re up for a DIY project, here’s a detailed guide to help you:
Step 1: Safety First
Park your vehicle on a flat surface and ensure the engine is turned off. Gather the necessary tools: glass cleaner, a razor blade, sandpaper, seam sealant, and a rubber mallet.
Step 2: Clean the Leaky Area
Thoroughly clean the area around the leak using glass cleaner and a clean cloth. Dry it completely.
Step 3: Expose the Crack
Use the razor blade to gently scrape away any old sealant around the crack or chipped area. Sand the edges lightly to create a smooth surface for the new sealant to adhere to.
Step 4: Apply Sealant
Apply a thin layer of seam sealant to the cleaned area using a firm, steady hand. Press down gently to create a uniform seal.
Step 5: Smooth and Cure
Use your finger or a spatula to smooth out the sealant and ensure a consistent finish. Allow the sealant to cure completely according to the manufacturer’s instructions.
Professional Windshield Repair: When DIY Isn’t Enough
If the leak is extensive or beyond your comfort level, seeking professional assistance is recommended. Auto glass specialists have specialized tools and expertise to provide a durable and hassle-free repair.
Expert Insights and Prevention Tips
To avoid windshield leaks in the future, consider these expert recommendations:
- Regular Inspection: Periodic windshield inspections are essential to identify and repair minor cracks or chips before they escalate into leaks.
- Avoid Extreme Heat: Prolonged exposure to extreme heat can weaken the windshield seal, making it susceptible to leaks. Park in the shade or use sunshades.
- Avoid Collision: While not intentional, collisions can compromise the windshield’s integrity and result in leaks. Drive cautiously and maintain a safe distance.
Conclusion
Armed with these insights and techniques, you can confidently tackle a leaking windshield and restore your vehicle to its optimal condition. Remember, prompt attention is key to prevent further damage and ensure a safe and enjoyable driving experience. If in doubt, don’t hesitate to seek professional assistance from qualified auto glass technicians. By following these comprehensive steps, you’ll bid farewell to leaky windshields and embrace a serene driving journey.
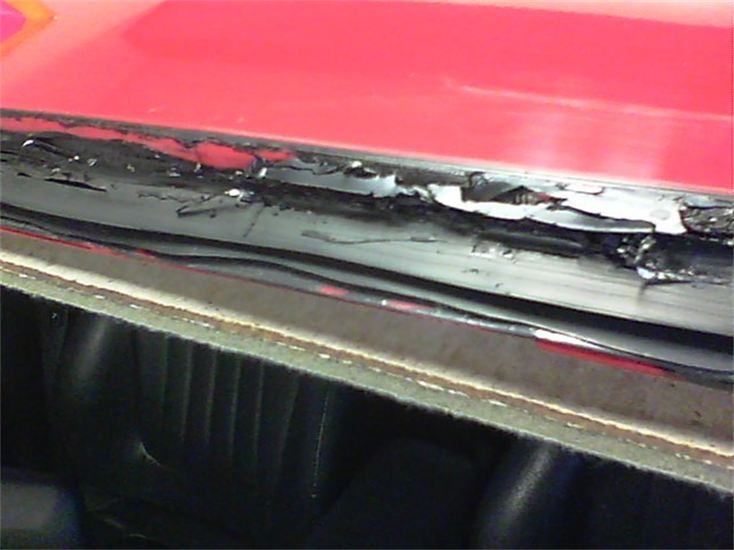
Image: www.thewindshielddoctors.com
How To Fix A Leaking Windshield
